

Spooky Scary Ghouls and Pumpkins
Happy October, I love this month because in my christmas obssessed brain it's the beginning of the festive period. We have Halloween, bonfire night, thanksgiving for my American friends and then its the big day!
After the year we've had so far I wanted to really celebrate spooky season this year, I don't love Halloween but I do love autumn and frankly I will take what I'm given. Myself and Hilly decided to try some halloween baking, these recipies don’t include any actual baking just chilling in the fridge.
I just want to begin by saying we didn't use any measurements we just eye balled it - I know I know it's incredibly professional here.
Strawberry Ghosts:
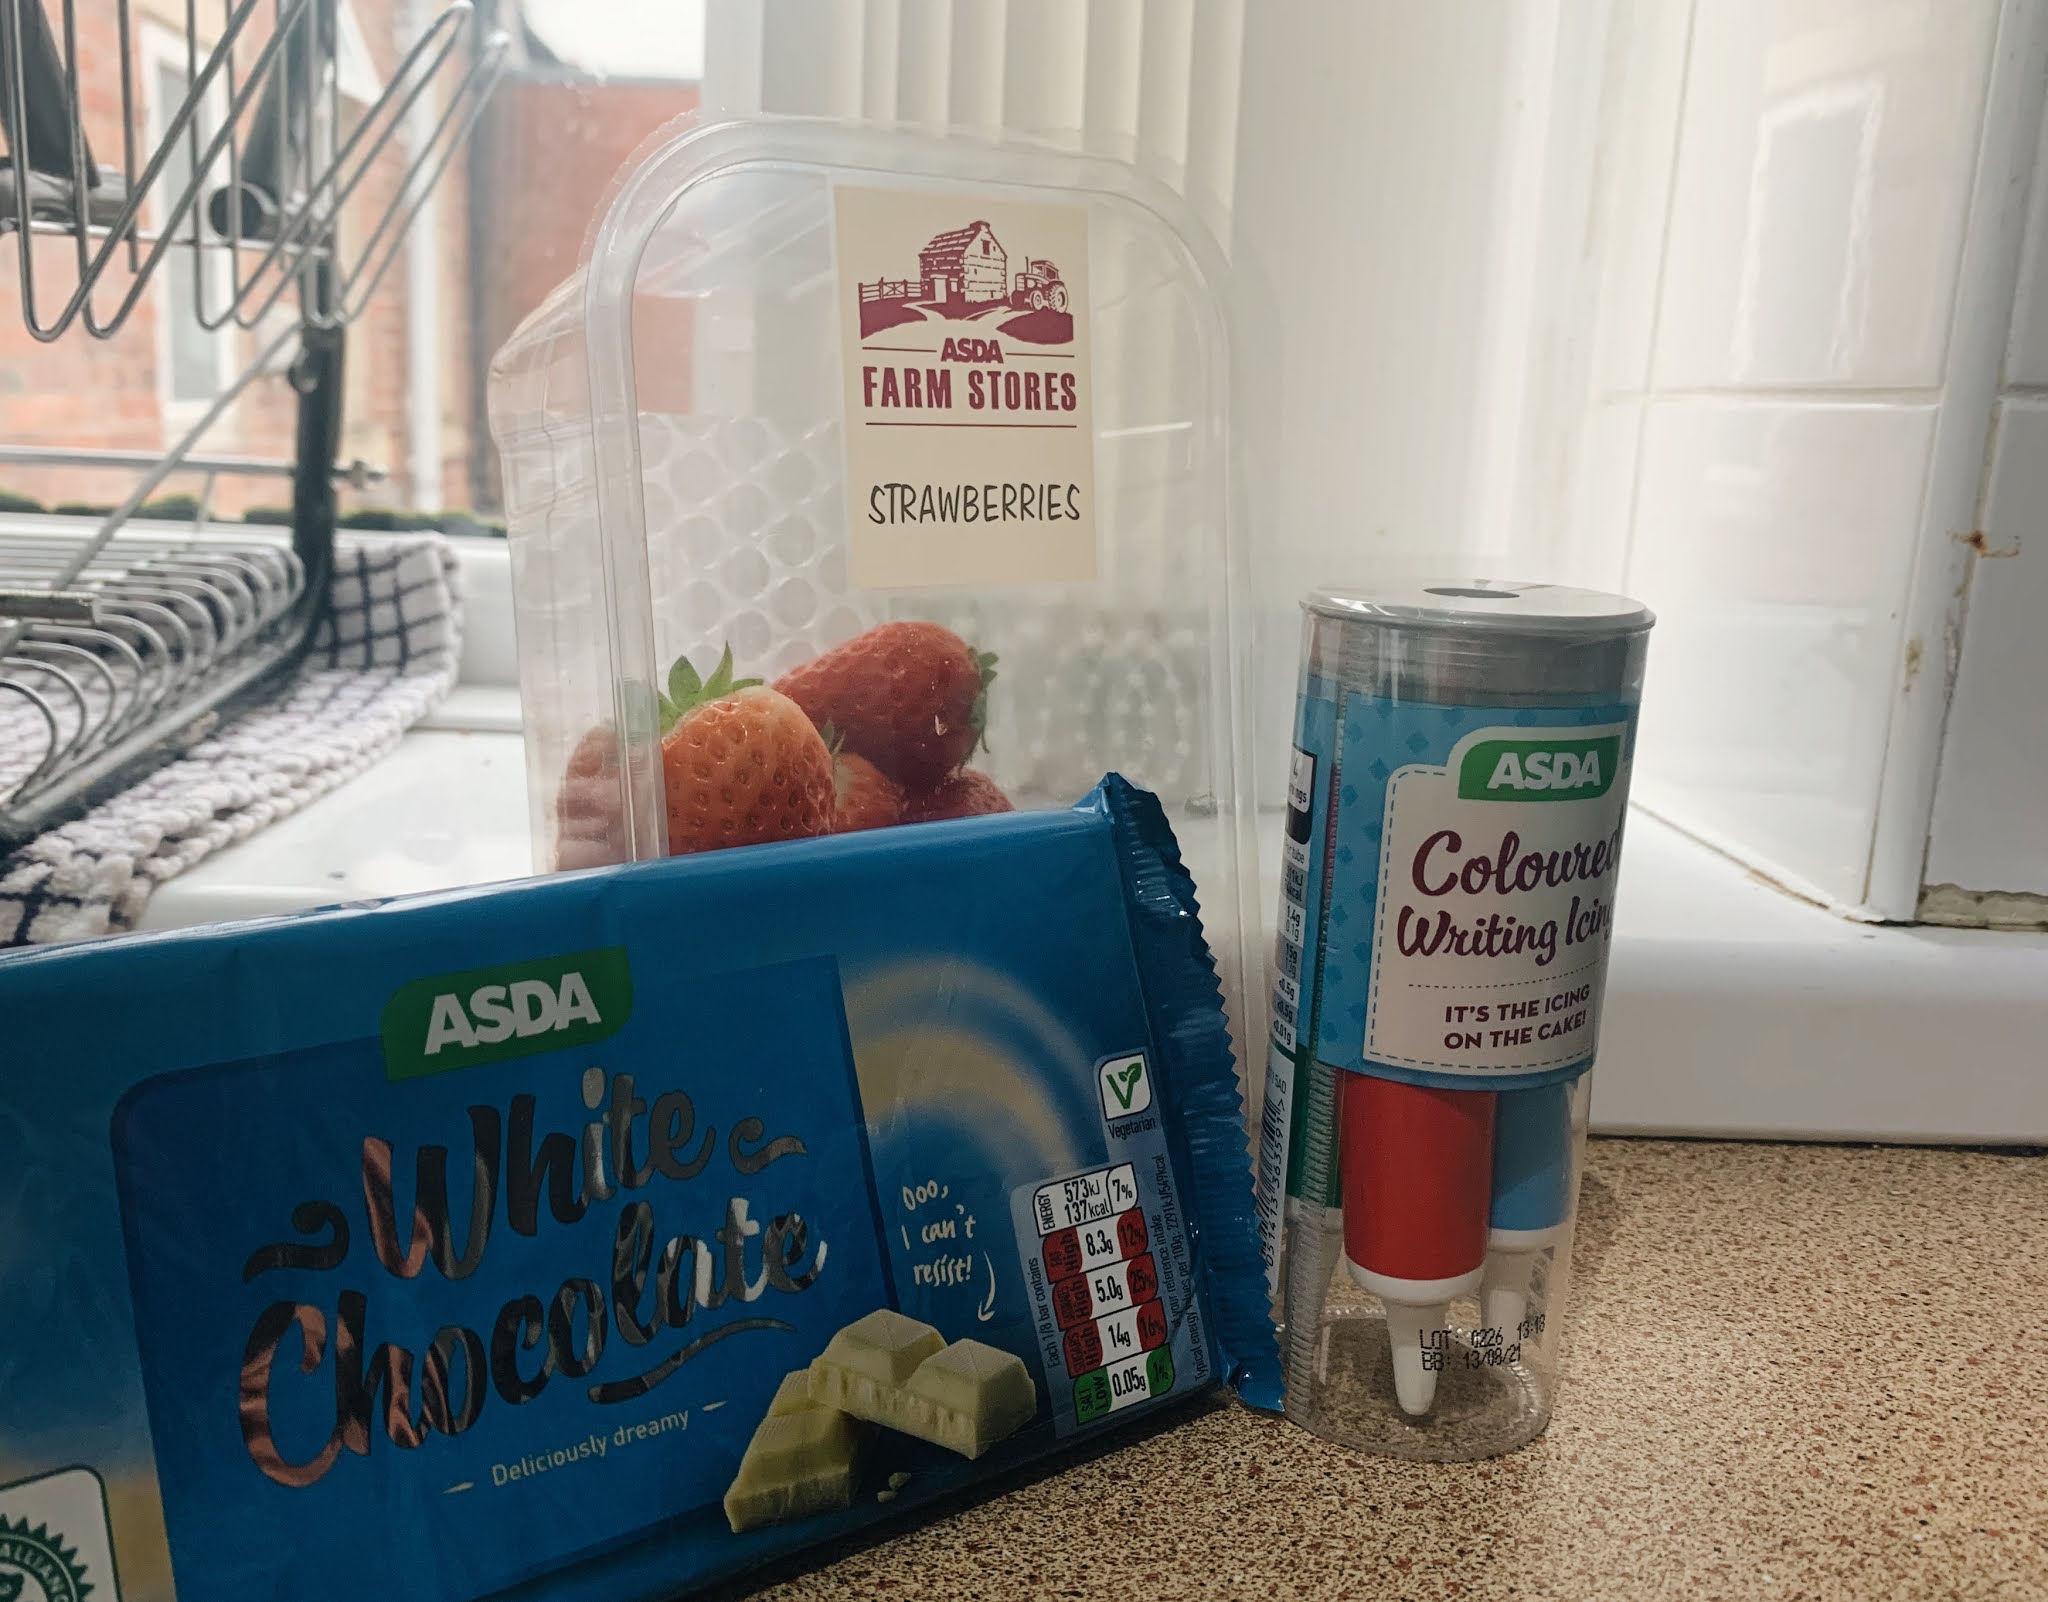
What you will need:
- Strawberries
- 2 Bars of white chocolate
- Black icing - easier if it's in a tube
We started off melting the chocolate in a bain-marie (yes I googled that leave it out) I find this the easiest way but you could probably chuck it in the microwave. We melted the chocolate until it was completed lump free, once that was completed we delicately and gracefully dipped the strawberries into the chocolate. Once submerged we placed them onto a plate, then put the plate into the fridge.


Once the chocolate has hardended (approx 15 mins) we took them out of the fridge and decorated them. Hilly is amazing at art so I allowed her the highest of honours by doing most of the work, especially decorating.

They turned out great and tasted amazing! Would highly recommend if you're looking for a little spooky snack, would be perfect for a halloween film night. Plus its fruit so that makes it healthy...right?

Due to using 2 bars of white chocolate once we completed the strawberry ghosts we had a good amount of melted chocolate left. We decided to use these for our Rice Krispie pumpkins.
Rice Krispie pumpkins:
What you will need:
- White chocolate (melted)
- Marshmallows preferably white
- Orange food colouring
- Green Fondant
- Matchmakers we went with orange flavour to add to the autumnal feel

The first thing we did was added the marshmallows into the Bain-marie with the melted chocolate, it's important to continuously stir to avoid burning the chocolate. TIP: work fast
Once we have our marshmallow chocolate mixture, we added our orange food colouring, again absolutely no measurements just eyeballing.

It immediately started turning bright orange so we quickly added the Rice Krispies along with the remaining food colouring. I have to say the colour of these pumpkins is amazing they turned out so vibrant.
With this gloop use your clean hands to mould them into balls and slightly push the top and bottom in to create the pumpkin shape. We decided to use a muffin tin and before placing them in the fridge added the matchmakers as the pumpkin stalk.


Whilst the Krispies are hardening in the fridge, take a sharp knife and the green fondant and start to create the leaves. We weren't super precise, some pumpkins have only one leaf others we piled a couple of leaves on top of each other. Using the same fondant we rolled it super thin and curled it around itself to create the stringy leaves?
Once hardened we removed the pumpkins from the fridge, added the greenery and once again Hilly drew cute little faces on them all to give the carved pumpkin effect, you could miss out this step if like me you aren't very artistically talented.


Overall, I am super happy with how our baked goods came out, a perk of these recipes is you don't need to use the oven, and could melt the chocolate and marshmallows in the microwave if you so wished. I feel these would be perfect for a spooky film night or even a cute halloween activity to do with children.
Let me know if you make either of these or anything else you can think of!
Massive thank you to Hilly for arguably doing all of the work, literally could not have done it without you.
No comments
Post a Comment